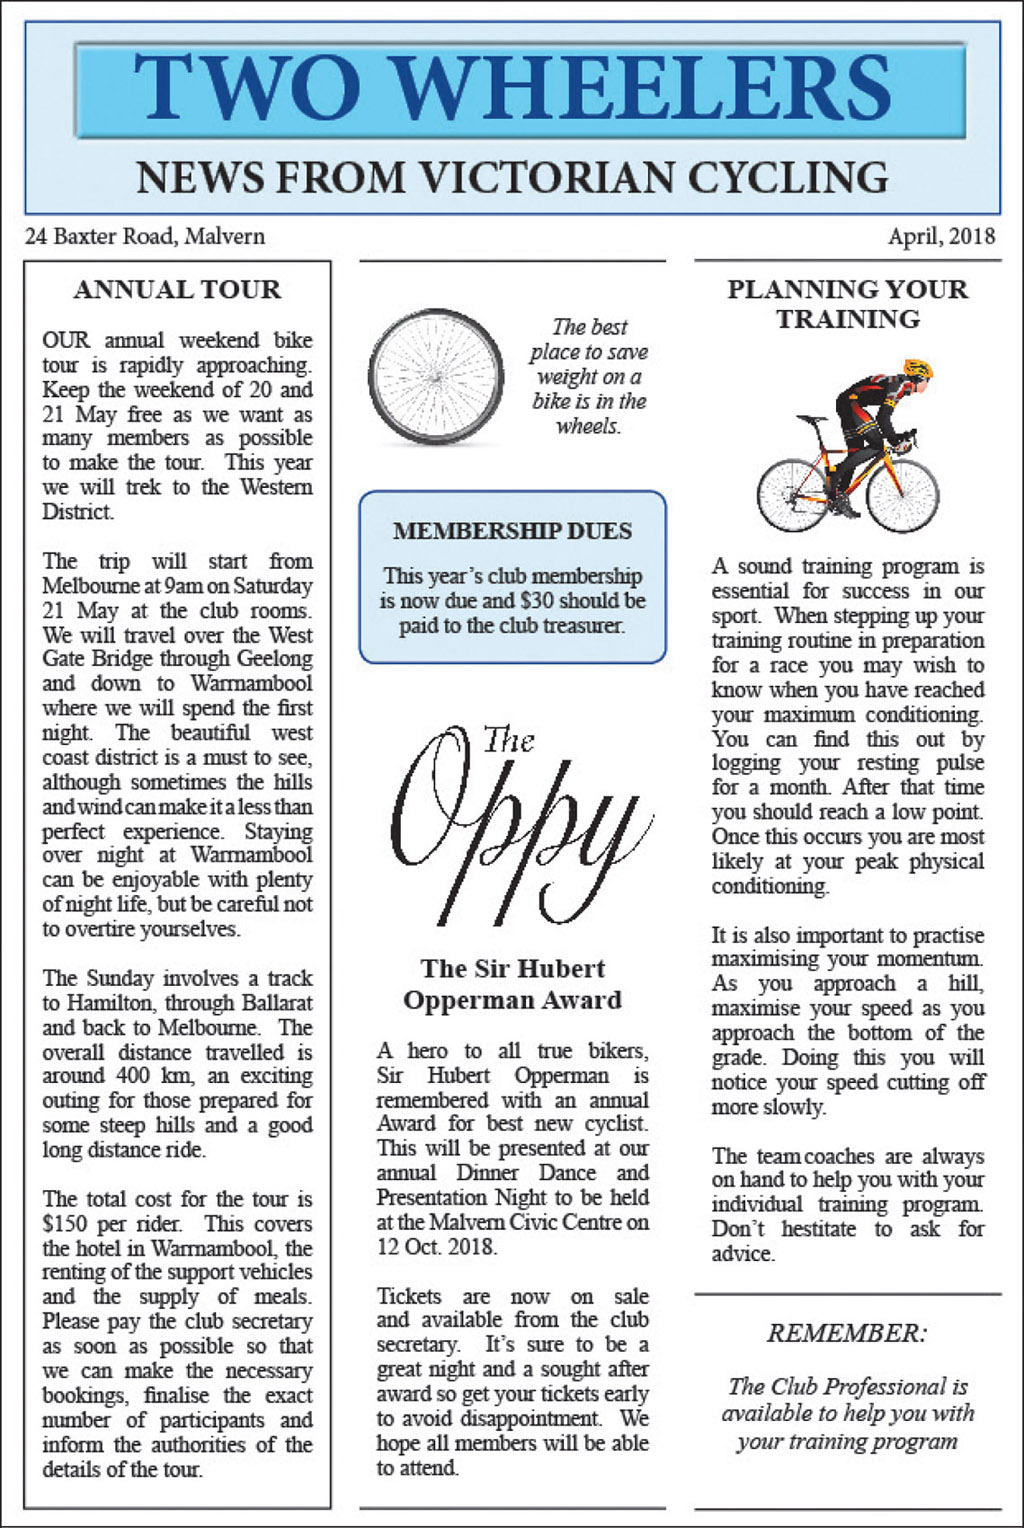
Newsletters are one or more pages about a particular topic or organisation. Text in newsletters is usually placed in columns (for example, three columns) and graphics are inserted to add interest to the page. A masthead at the top of the first page is provided to show the newsletter title and publication details such as date or issue number. In this exercise you will create the newsletter shown in the example below.
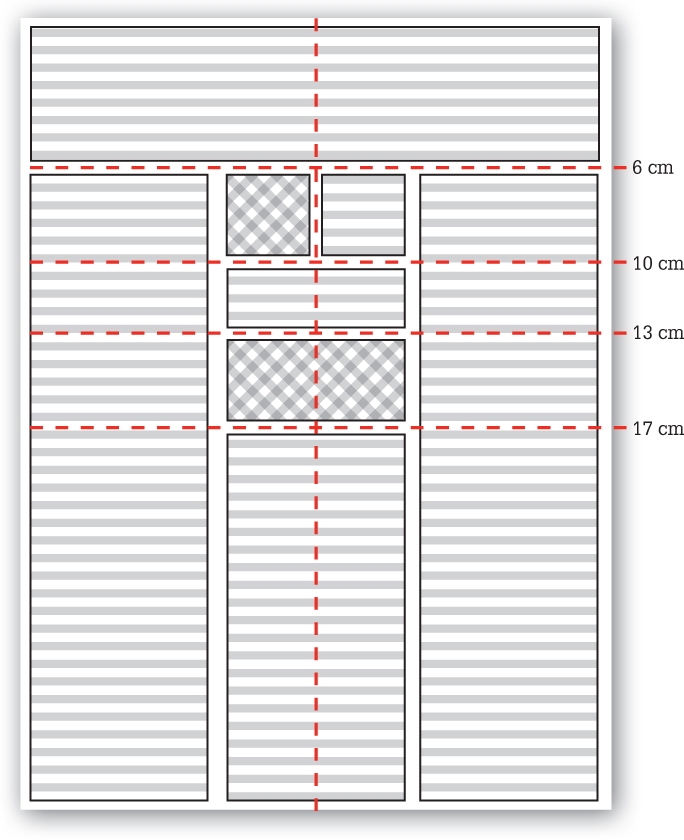
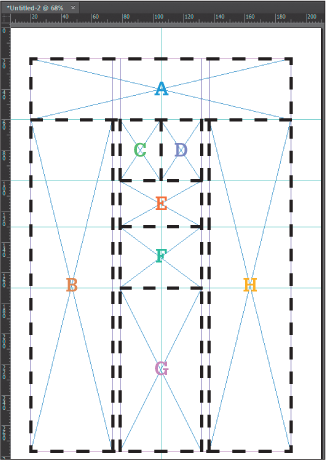
A possible thumbnail sketch for the publication is:
A three-column page will be required in this case and a guideline will be inserted through the vertical centre of the page.
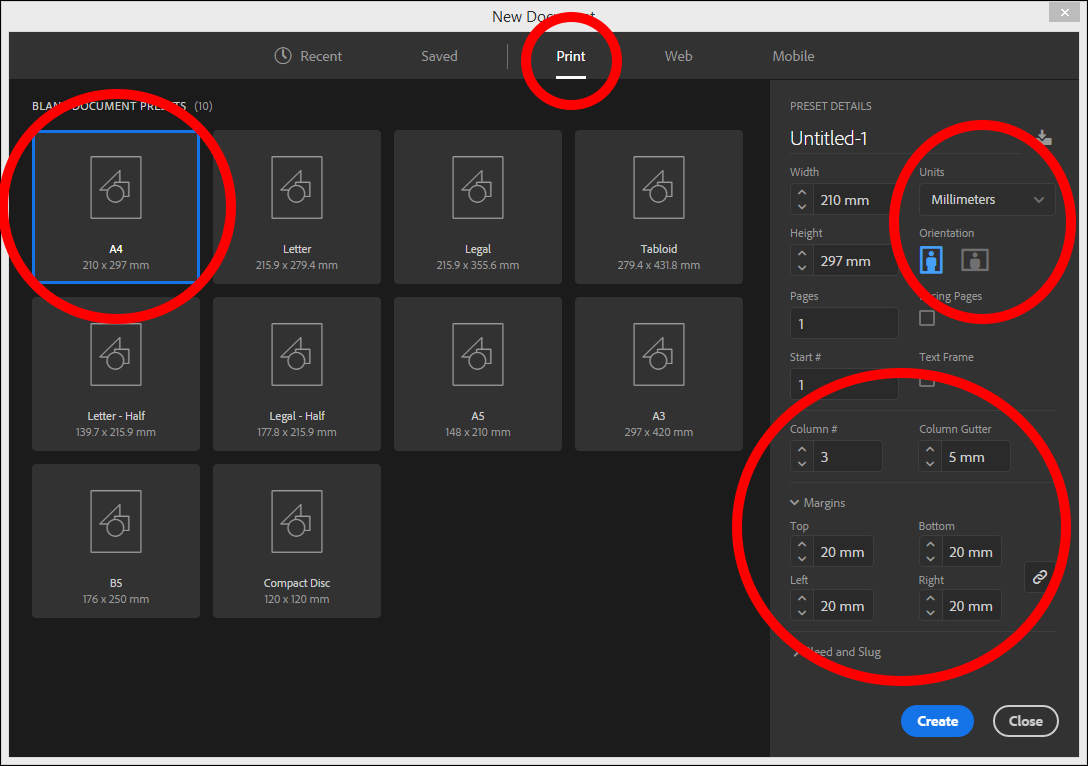
Start a NEW document and, in the PRINT category of the NEW DOCUMENT dialogue box, select the A4 preset and set the UNITS to MILLIMETRES.
Turn off FACING PAGES and set the COLUMNS to 3 with a 5 mm GUTTER. In the MARGINS section set the four margins to 20 mm and select CREATE.
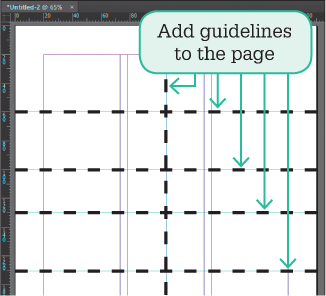
Horizontal guidelines will be added for each section of the newsletter. Refer to the thumbnail sketch at the start of the exercise when you are doing this to identify where they are being placed.
Drag guidelines from the top Ruler to 60 mm, 100 mm, 130 mm and 170 mm.
Drag a vertical guideline from the left Ruler to 105 mm in the top Ruler. This will show the vertical centre of the page.
Inserting the frames
Frames will be used to set the placeholders of the page.
Select the RECTANGLE FRAME TOOL from the Tools panel and drag eight frames to the positions labelled in the diagram.
Frame A: a frame across the top of the page.
Frame B: a frame down the left column.
Frame C: a small frame in the centre column under frame A.
Frame D: a small frame next to frame C.
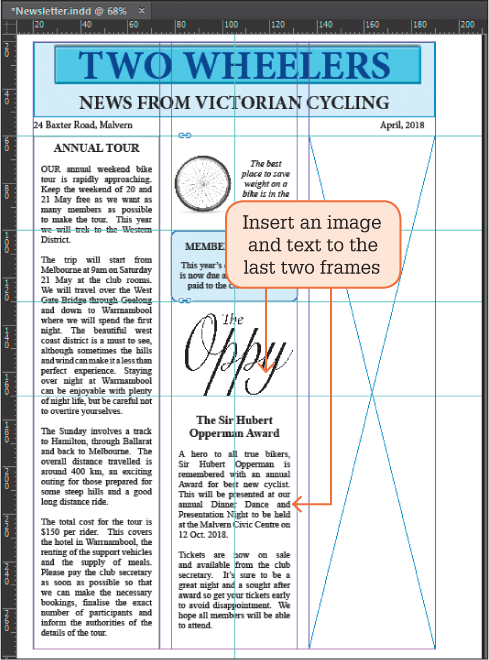
Frame E: a small frame under the last two frames.
Frame F: a small frame under frame E.
Frame G: a frame down the rest of the centre column.
Frame H: a frame down the right column.
Note: A further frame will be added to column three later for an image to be inserted.
Save the page layout in your storage folder as: Newsletter.
Completing the masthead
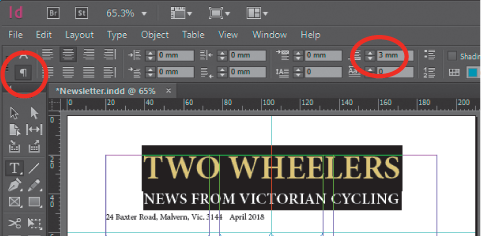
Select the TYPE TOOL, click in the top and enter:
TWO WHEELERS<enter> NEWS FROM VICTORIAN CYCLING<enter> 24 Baxter Road, Malvern, Vic. 3144<tab>April, 2018
Format the first line to MINION PRO, BOLD, 48 pt, DARK BLUE and CENTRE.
Format the second line to MINION PRO, BOLD, 23 pt and CENTRE.
Highlight the first two lines and, in the PARAGRAPH section of the CONTROL panel, set the SPACE AFTER box to 3 mm to add space after each line.
Highlight the third line then display the TYPE menu and select TABS. Click on the POSITION PANEL ABOVE TEXT FRAME to add the TABS panel above the text frame.
Click on the RIGHT TAB box and click a right tab at about 165 mm to move the date to the right of the frame, then close the TABS panel. Note: There must be room above the text frame for the TABS panel to be placed above the text frame.
Use TEXT FRAME OPTIONS from the OBJECT menu to set the VERTICAL JUSTIFICATION of the frame to CENTRE.
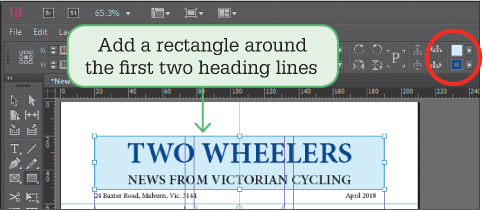
Select the RECTANGLE TOOL and drag a rectangle around the first two lines of the heading.
Set the FILL COLOUR to CYAN with 15% TINT and the STROKE COLOUR to DARK BLUE.
Display the OBJECT menu, highlight ARRANGE and select SEND TO BACK to send the rectangle behind the text.
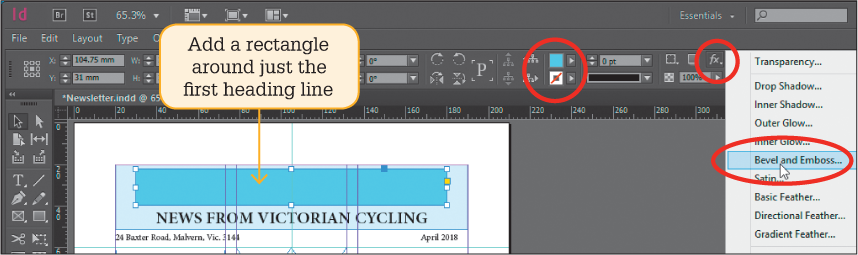
Drag another rectangle slightly in from the sides of the previous rectangle around just the first line.
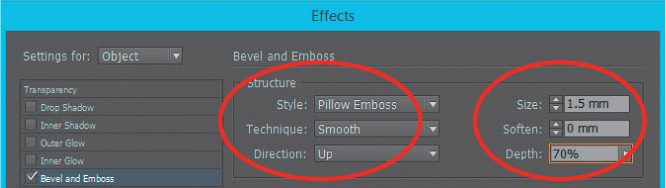
Set the FILL COLOUR to CYAN with a 50% TINT, the STROKE COLOUR to NONE then click on the EFFECTS button in the CONTROL panel and select BEVEL AND EMBOSS.
Set the STYLE to PILLOW EMBOSS, the TECHNIQUE to SMOOTH, the DIRECTION to UP, the SIZE to 1.5 mm, the DEPTH to 70% and select OK. This will add a raised effect to the rectangle.
Display the OBJECT menu, highlight ARRANGE and select SEND TO BACK to send the rectangle behind the text.
The first rectangle now needs to be sent behind the second. Select the SELECTION TOOL, hold down the <Ctrl> or <Command> key and click on the first rectangle until it is selected, then display the OBJECT menu, highlight ARRANGE and select SEND TO BACK. Note: The <Ctrl> or <Command> key is depressed when you need to select objects that are behind other objects.
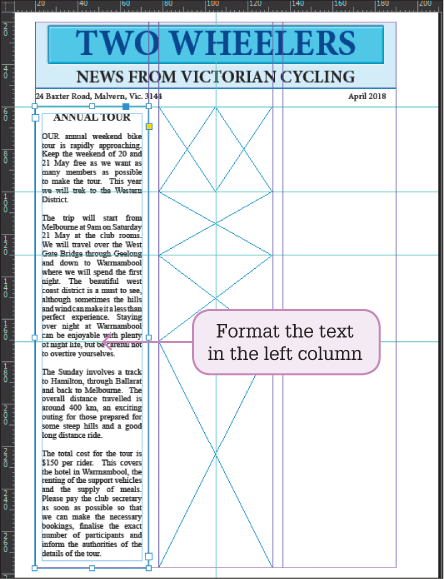
The left column will contain an article about the annual cycling tour. The text has been entered for you.
Select the TYPE TOOL, click in the left frame (frame B) then display the FILE menu and select PLACE.
Access the text file downloaded from the above link.
Press <Ctrl+A> or <Command+A> to select all the text and, in the Character section of the Control panel, set the Font Size to 11 pt and the Alignment to JUSTIFY WITH LAST LINE ALIGNED LEFT.
Highlight the heading and set the font size to 14 pt, bold and centre.
Display the Object menu and select TEXT FRAME OPTIONS. Set all the SPACING INSETS to 3 mm and select OK. This will space around the edges of the text.
Select the SELECTION TOOL and the frame should be selected. In the CONTROL panel set the STROKE WEIGHT to 1 pt to add a border to the frame.
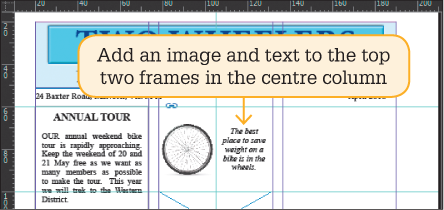
Select the top left frame (frame C) of the centre column and press <Ctrl+D> or <Command+D> to select the PLACE command.
Access the Wheel image downloaded from the above link.
Click on the FIT CONTENT PROPORTIONALLY button in the Control panel to fit the image within the frame.
Select the top right frame (frame D) and place the Wheel text file downloaded from the above link.
Use the TYPE TOOL to highlight the text and set it to 11 pt, italic and centre.
Use TEXT FRAME OPTIONS from the ARRANGE menu to set all the SPACING INSETS to 3 mm and the VERTICAL ALIGNMENT to centre.
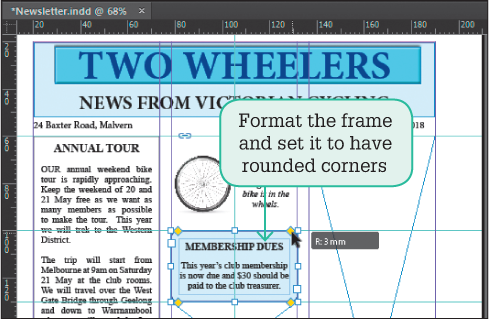
Click in the frame below the last two (frame E) and place the Membership text file downloaded from the above link.
Highlight all the text and set the font size to 11 pt and centre.
Highlight just the heading and set it to 12 pt and bold.
Use the TEXT FRAME OPTIONS to set all the SPACING INSETS to 3 mm and the VERTICAL JUSTIFICATION to CENTRE.
Select the SELECTION TOOL and set the FILL COLOUR to CYAN with a 15% TINT, the STROKE COLOUR to DARK BLUE, then click on the YELLOW box at the right of the frame and drag the YELLOW handles to create 3 mm rounded corners for the frame.
Click in the frame below the last frame (frame F), place the Oppy image downloaded from the above link and click on the FIT CONTENT PROPORTIONALLY button in the Control panel to fit the image in the frame.
Click in the last frame in the centre column and place the Oppy text file downloaded from the above link.
Select all the text and format it to 11 pt and JUSTIFY WITH LAST LINE ALIGNED LEFT.
Format the two heading lines to 14 pt BOLD and CENTRE.
Use the TEXT FRAME OPTIONS to set all the SPACING INSETS to 3 mm and the VERTICAL JUSTIFICATION to CENTRE.
Click in the frame in the third column (frame H) and place the Training text downloaded from the above link.
Select all the text and set it to 11 pt and JUSTIFY WITH LAST LINE LEFT ALIGNED.
Format the heading to 14 pt, BOLD and CENTRE.
Use the TEXT FRAME OPTIONS to set all the SPACING INSETS to 3 mm.
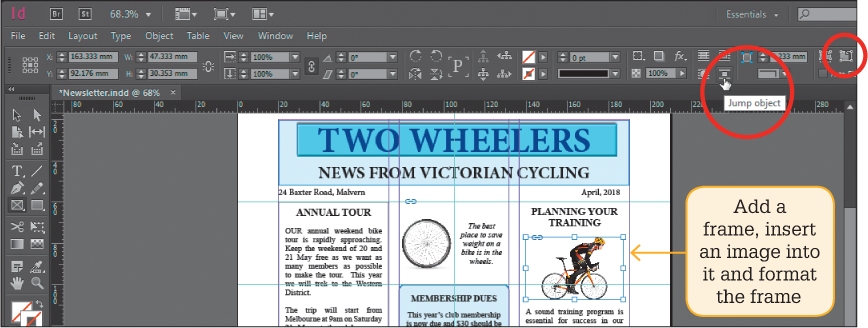
Select the RECTANGLE FRAME TOOL and drag a 30 mm high frame across the column under the heading.
Access the Push Bike image downloaded from the above link, and place it into the frame, set it to FIT CONTENT PROPORTIONALLY then click on the JUMP OBJECT button in the CONTROL panel to set the text wrap to above and below the image.
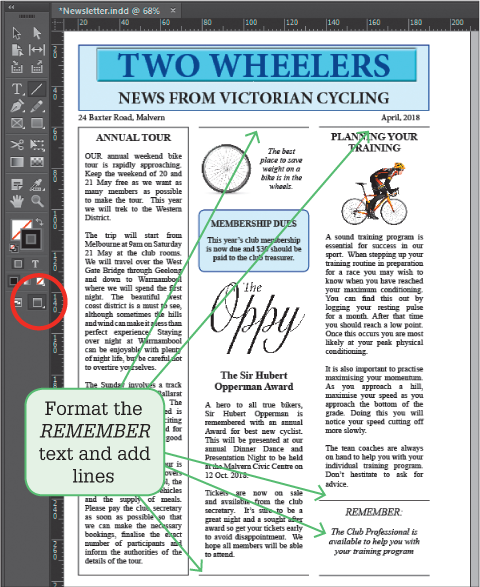
Use the TYPE TOOL to highlight the last paragraph and heading and format it to 12 pt, ITALIC and CENTRE, then highlight the REMEMBER heading and format it to 14 pt.
To complete the newsletter some lines will be added. Select the LINE TOOL and add horizontal lines across the top and bottom of columns two and three, and above the Remember heading.
Turn on the PREVIEW button at the base of the Control panel and make any adjustments to the newsletter. For example, the Oppy image can be moved down a little, the tab for the date moved to the right a little and the article at the base of column two can be moved down a little so that the text along the base of the newsletter is level.
Print a copy of the newsletter or share your work electronically.