Many hotels or restaurants like to change their menus weekly or even daily. By using a desktop publishing program to create the menu, the process is made much easier.
Desktop publishing programs usually provide frames to store either text or graphics and it can be a more efficient way of creating a publication. The advantage of using frames is that they can be a variety of different shapes. For example, you can place text in a circular frame. Frames can also be used as placeholders where a new graphic or story can be entered into a set area of the page. Frames are used in publications where the structure needs to stay the same, but the content is updated from time to time. Frames act in a very similar way to text blocks and placed graphics. You can set borders or shading, flow text from one frame to another, adjust the size of graphics within the frame, etc.
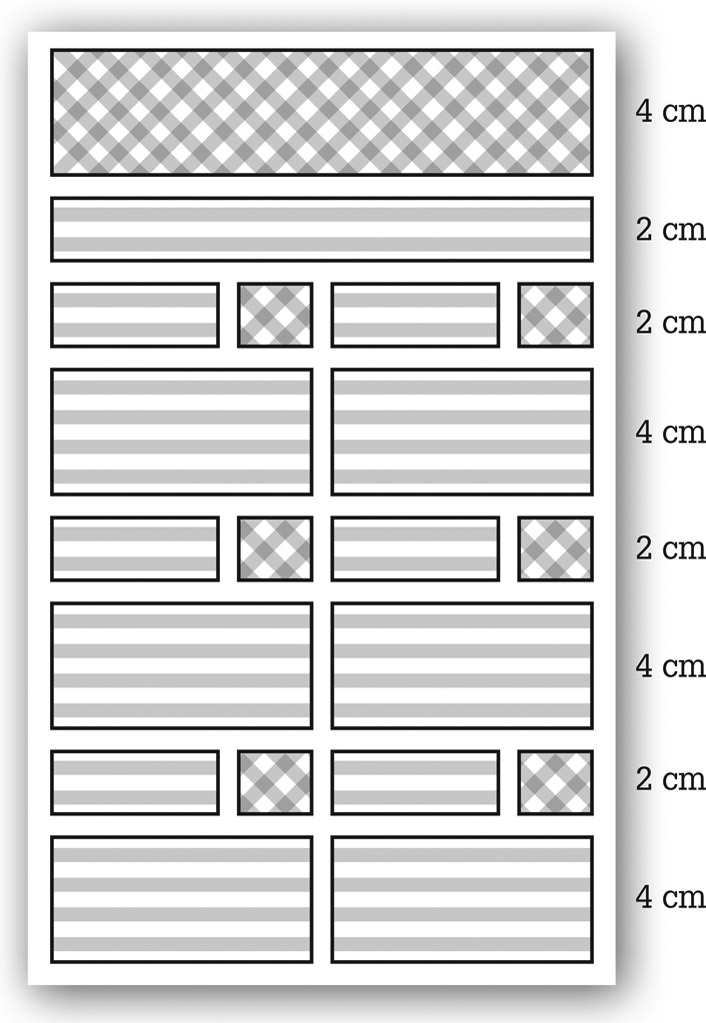
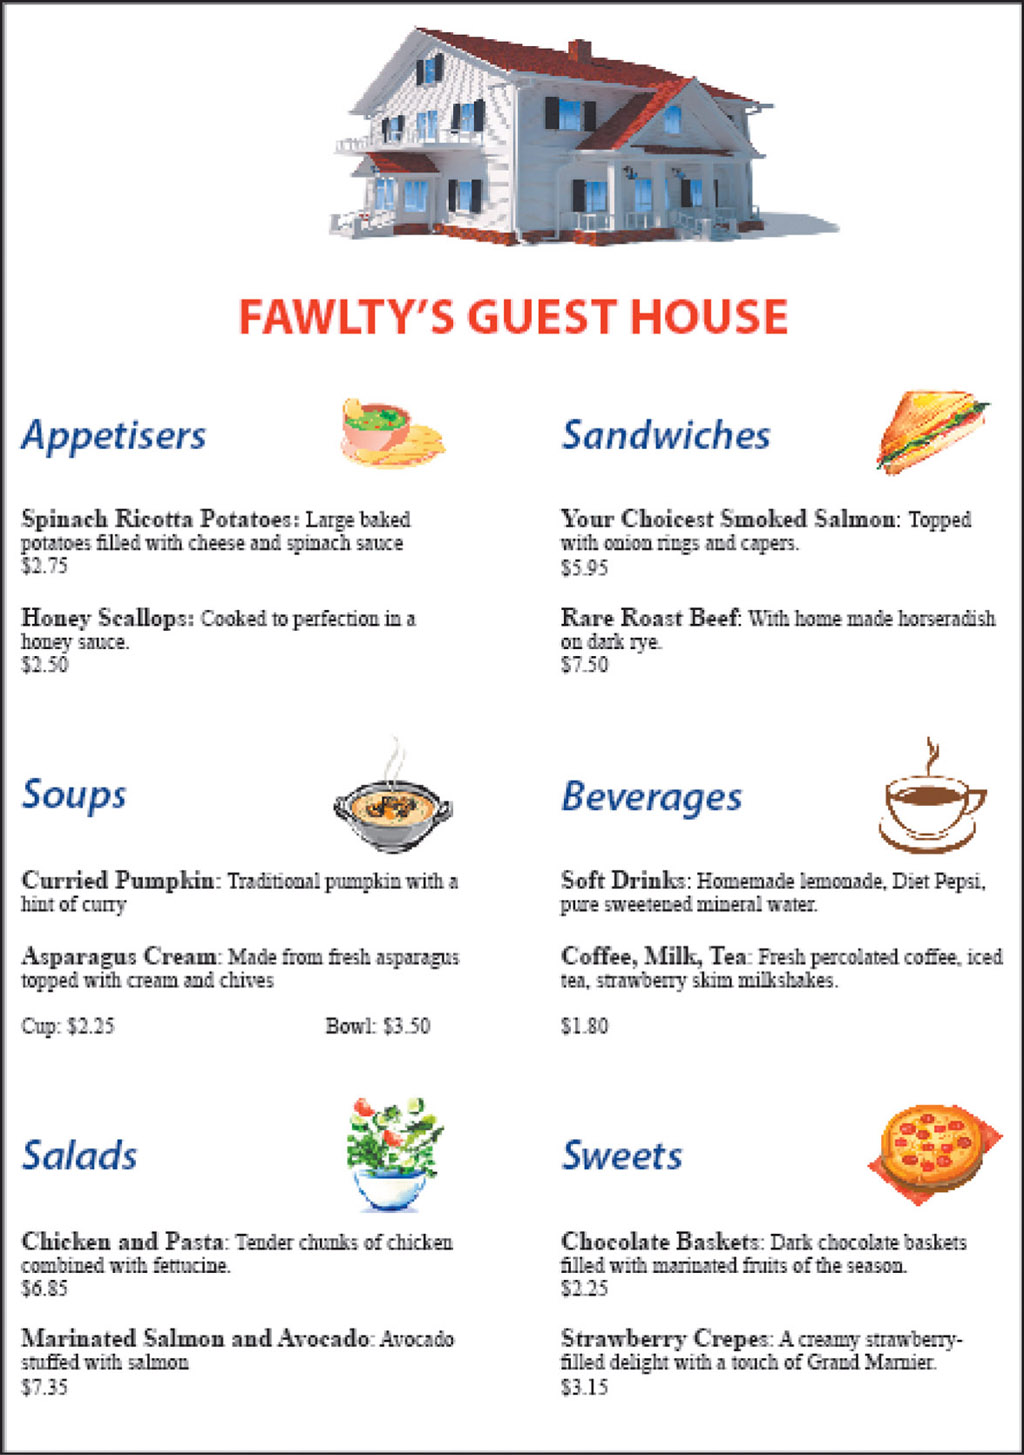
In this case you will create a menu for the restaurant that is part of Fawlty’s Guest House. It is shown below. The publication is a little more detailed than the previous ones. This will give you a chance to practise using a more complicated page structure. The thumbnail sketch is provided to the right. The measurements show an estimate of the height required for each section.
A two-column page will again be used in this case so that guidelines are inserted through the vertical centre of the page.
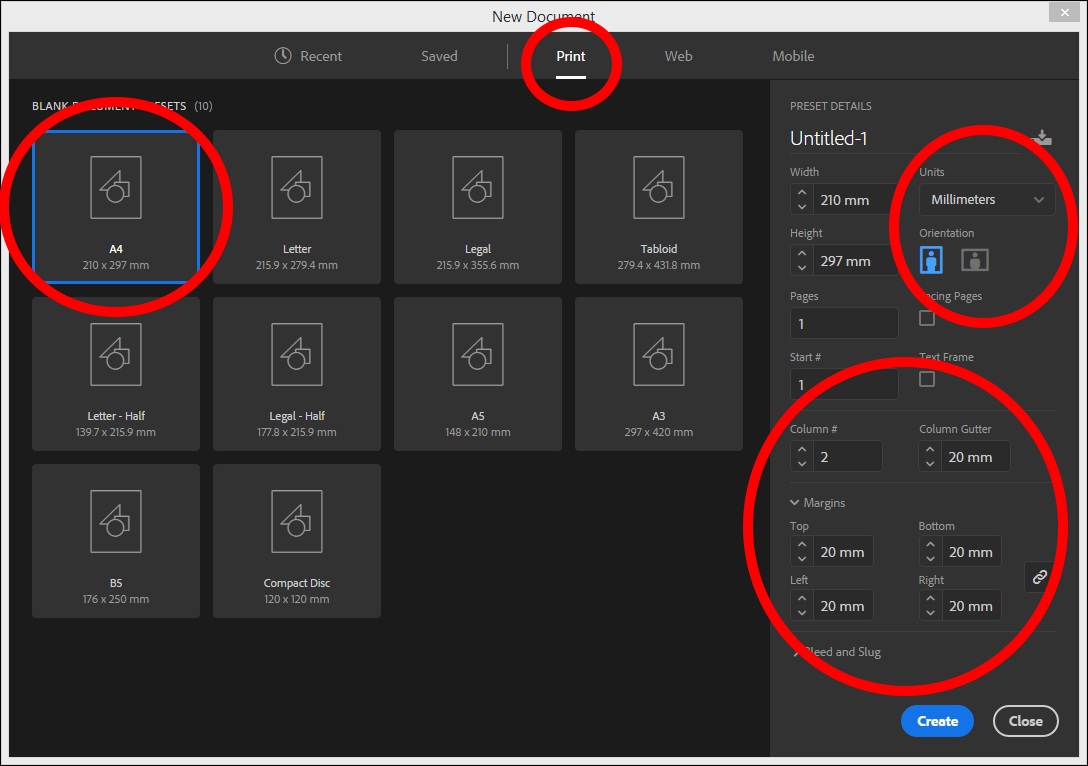
Start a NEW docuemnt and, in the PRINT category of the NEW DOCUMENT dialogue box, select the A4 preset and set the UNITS to MILLIMETRES.
Turn off FACING PAGES and set the COLUMNS to 2 with a 20 mm GUTTER. In the MARGINSsection set the four margins to 20 mm and select CREATE.
Horizontal guidelines will be added for each section of the menu. Refer to the thumbnail sketch in the example above when you are doing this to identify where they are being placed.
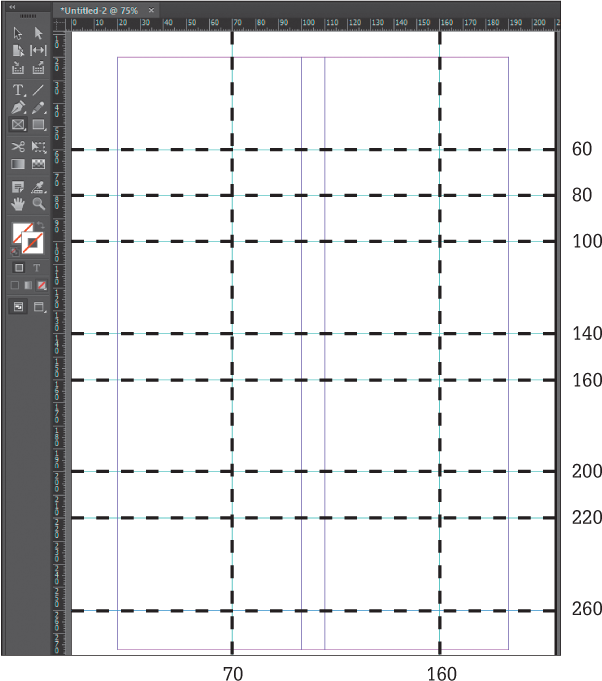
Drag guidelines from the top Ruler to 60 mm, 80 mm, 100 mm, 140 mm, 160 mm, 200 mm, 220 mm and 260 mm.
Drag two vertical guidelines from the left Ruler to 70 mm and 160 mm. This will allow images to be inserted next to the menu item names.
Inserting the frames
Frames will be used to set the placeholders of the page.
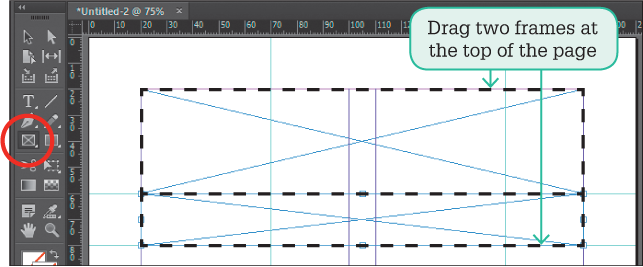
Select the RECTANGLE FRAME TOOL from the Tools panel and drag two frames across the page between the first two horizontal guidelines. These will contain an image and the restaurant’s name.
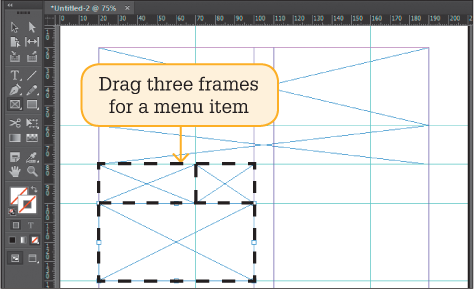
Drag three frames across the top left guidelines under the previous frames. These will contain the menu item heading, an image and the menu item content.
Repeat step two to add frames for the other five menu items.
Save the layout in your storage folder as: Restaurant menu.
Completing the heading section
The Heading section will consist of an image of the guest house and its name.
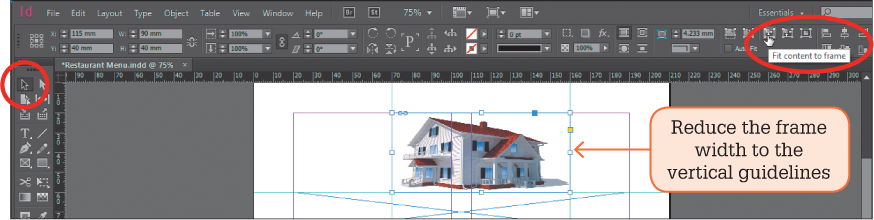
Select the SELECTION TOOL and select the top frame.
Display the FILE menu, select PLACE, access the image downloaded in Exercise 1.
Reduce the width of the frame to the two vertical guidelines and click on the FIT CONTENT TO FRAME icon in the CONTROL panel to stretch the image a little to the size of the frame.
Note: You can adjust the size of frame when creating a layout if your original layout does not suit the content you are entering.
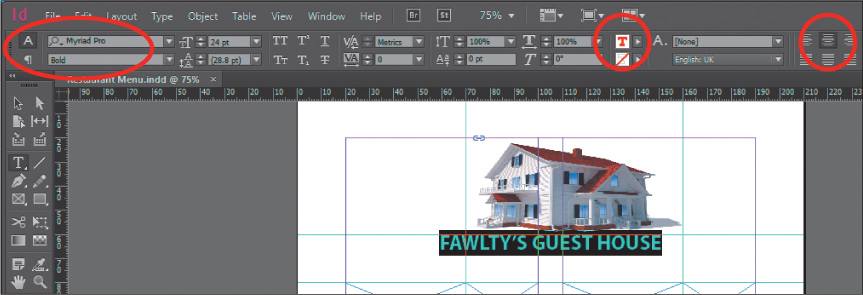
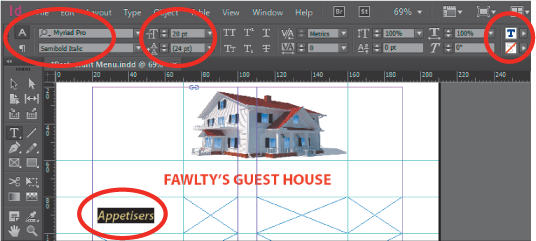
Select the TYPE TOOL, click in the second frame and enter: FAWLTY’S GUEST HOUSE.
Highlight the text and, in the CONTROL panel, set the FONT to MYRIAD PRO, the STYLE to BOLD, the SIZE to 24 pt, the FILL COLOUR to RED and the ALIGNMENT to CENTRE.
Display the OBJECT menu, highlight TEXT FRAME OPTIONS and, in the VERTICAL JUSTIFICATION section, set the ALIGN box to CENTRE and select OK to vertically centre the text in the frame.
The first menu item will consist of a heading in the top left frame, an image in the frame to the right of it and content in the frame below it.
Click the TYPE TOOL in the left frame under the heading and enter Appetisers.
Highlight the text and set the font to Myriad Pro, the style to Bold Italic, the size to 20 pt and the Fill Colour to Blue.
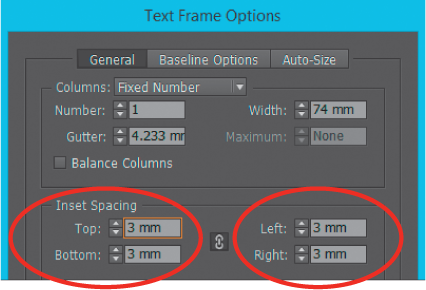
Display the Object menu and select TEXT FRAME OPTIONS. Set all the INSET SPACING boxes to 3 mm, the VERTICAL JUSTIFICATION to centre and select OK.
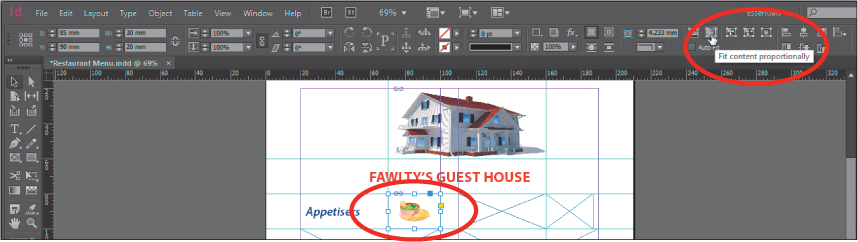
Select the SELECTION TOOL, select the frame next to the Appetisers heading and select PLACE from the FILE menu.
Access the image folder downloaded from the above link and open the Appetisers image.
Click on the FIT CONTENT PROPORTIONALLY icon on the CONTROL panel to display the image within the frame.
Click on the frame below the Appetisers heading and select PLACE from the FILE menu.
Access the text folder downloaded from the above link and open the Appetisers text.
Select ‘Spinach Ricotta Potatoes’ and change the style to bold and 12 pt.
Select ‘Honey Scallops’ and change the style to bold and 12 pt.
Display the Object menu and select TEXT FRAME OPTIONS. Set all the INSET SPACING boxes to 3 mm and select OK so that space is added around the outside of the text.
Completing the other menu items
Carry out the previous steps to complete the other menu items referring to the Example panel on page 10.3. You will need to enter the menu item heading then place the image and content downloaded above.
Use the RECTANGLE TOOL to place a rectangle around the outside of the menu and use the OBJECT menu, ARRANGE – SEND TO BACK to move the rectangle behind the other components of the menu.
Resave the document, check over it and print a copy.