When you need to align text and/or graphics on a page, the Table feature is an easy way to achieve this. In a more detailed website CSS Styles would be used to align the text and images.
Open your Movie Magic site and select NEW from the FILE menu.
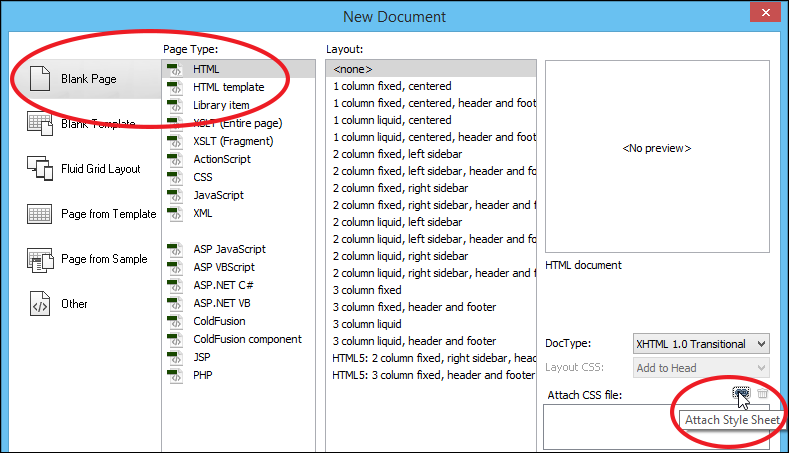
Select BLANK PAGE followed by HTML in the PAGE TYPE frame then click on the ATTACH STYLE SHEET button at the bottom right of the NEW DOCUMENT dialogue box.
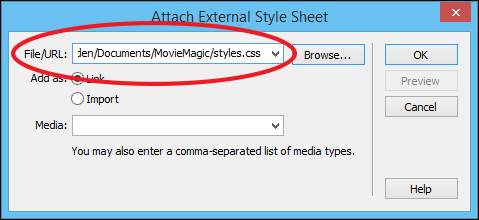
Browse to your styles.css file and select OK.
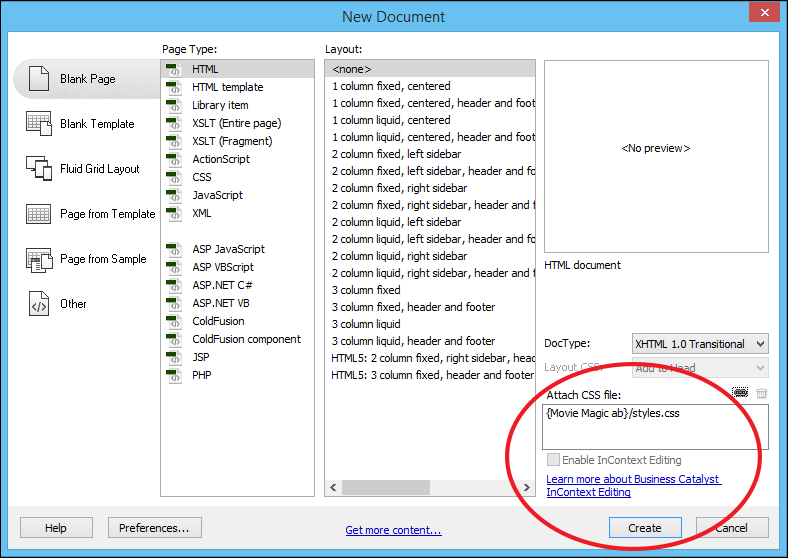
This will add the styles.css file to the ATTACH CSS frame and link the styles to the new page. Select CREATE to start the page.
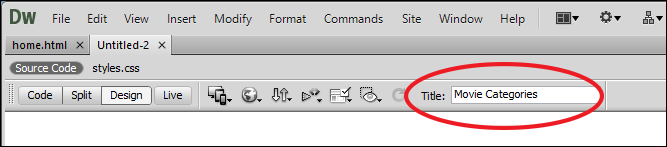
In the DOCUMENT Toolbar set the TITLE to Movie Categories.
SAVE the page as categories.html.
Adding the title text
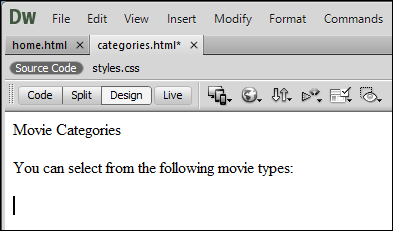
Some text will be needed above the table.
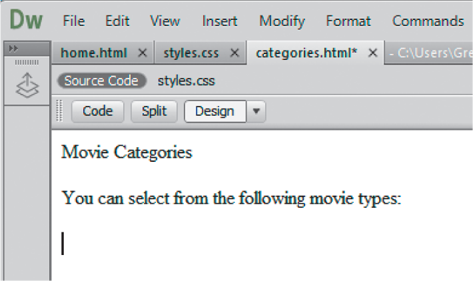
Enter the text shown in the diagram to the right, pressing <Enter> or <Return> after each line.
Highlight MOVIE CATEGORIES and select the HEADING style from the TARGETED RULE box in the CSS section of the PROPERTIES panel to format it.
Repeat step 2 to format the sentence to the Body_Text style.
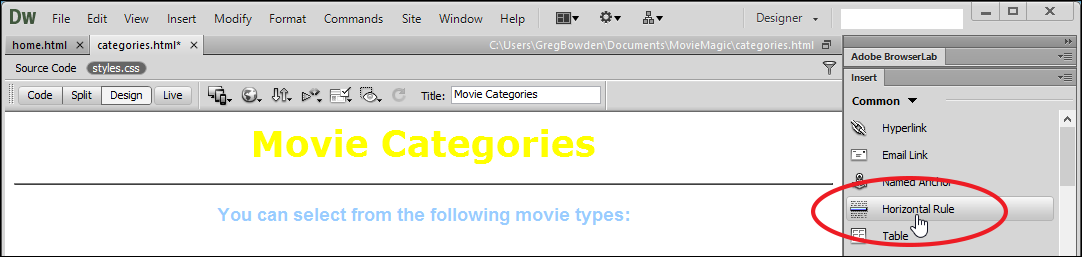
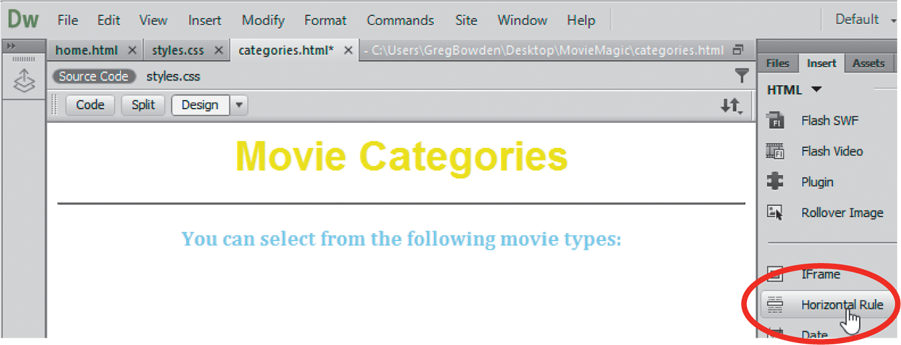
Click at the beginning of the second line and insert a HORIZONTAL RULE to separate it from the heading.
Inserting the table
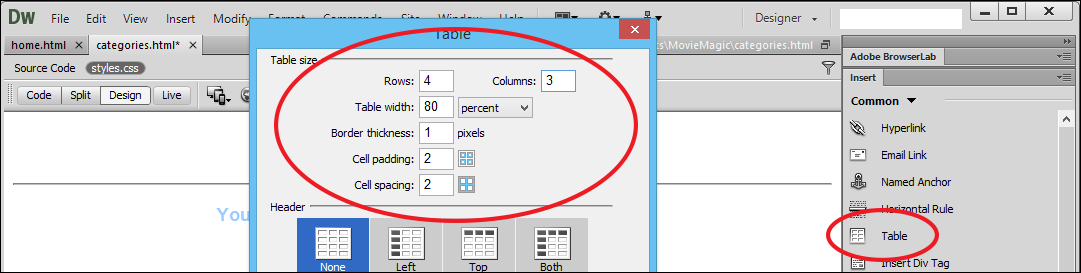
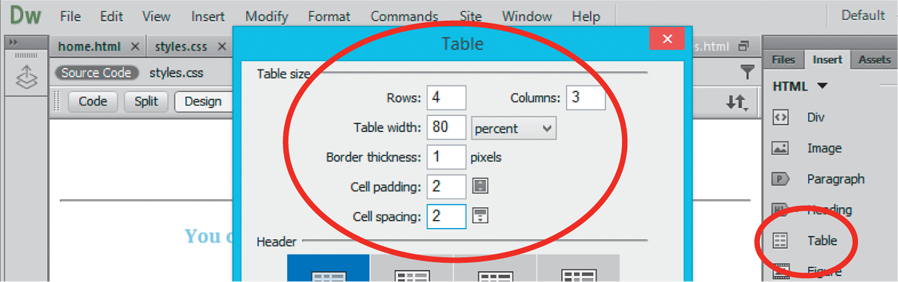
Click on the blank line below the sentence and click on the TABLE icon in the INSERT tab of the PANEL GROUP.
Set the table to have the values indicated in the diagram above. Note: Setting the TABLE WIDTH to 80 PERCENT means that the table will fill 80% of the screen no matter how large or small the screen is.
In the PROPERTIES panel set the TABLE name to CATEGORIES and the ALIGN box to CENTRE so that the table is centred on the page.
Images can be inserted into table cells. These images have been prepared for you.
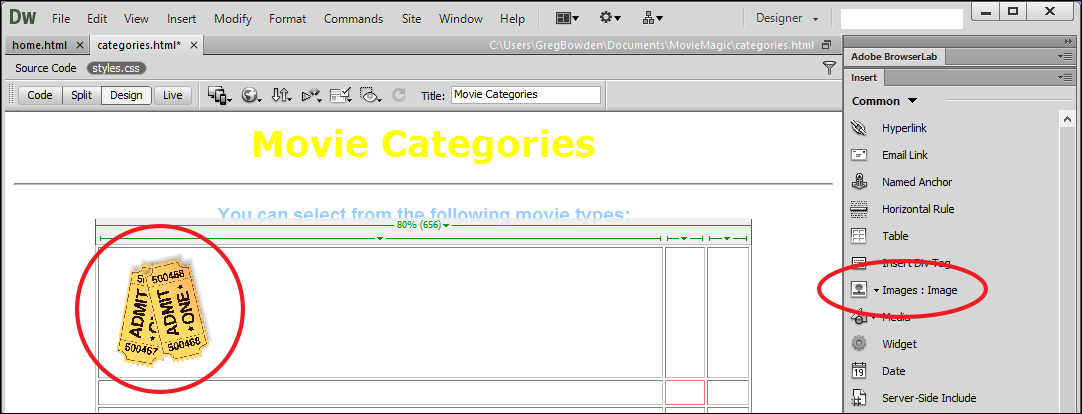
Click in the top left cell and click on the IMAGE icon arrow in the INSERT tab of the PANEL GROUP and select IMAGE.
Open the folder downloaded from the above link and access the Movies image.
Select YES to the ROOT FOLDER warning, open your IMAGES folder and select SAVE.
Set the ALTERNATE TEXT to MOVIES IMAGE and select OK to insert the image in the cell.
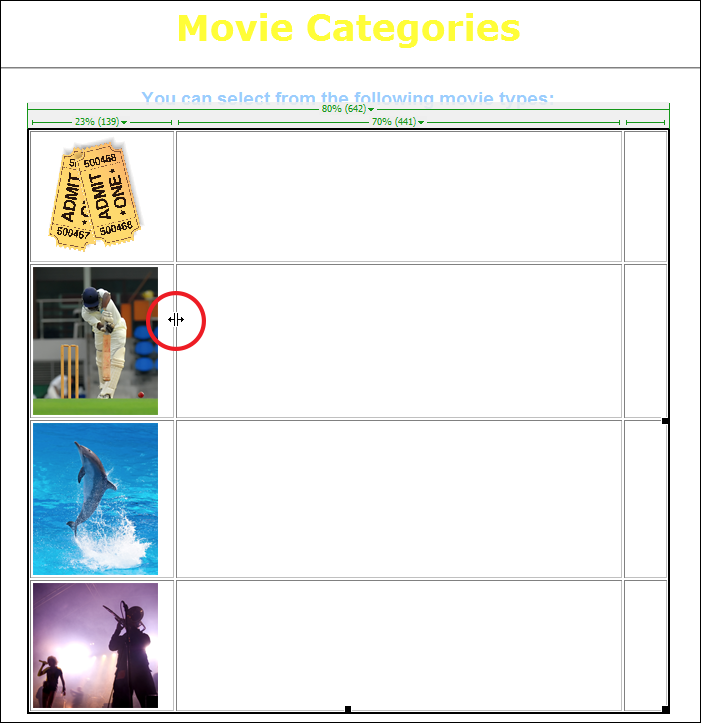
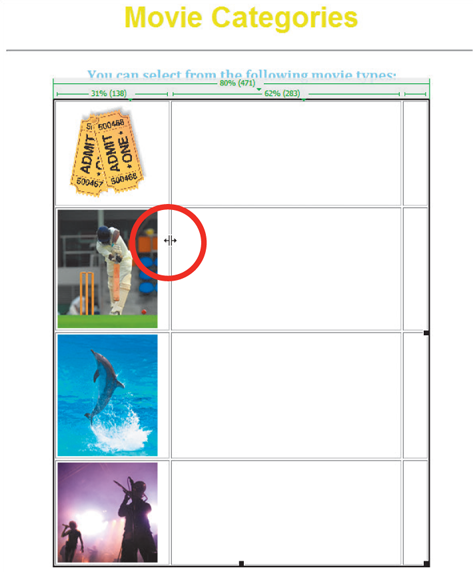
Repeat the last 4 steps to insert the Sports, Docos and Music images in the next 3 cells of column 1.
Drag the right border of the first column to the right of the images.
Note: The bottom right handle of an image can be used to resize it when needed or you can enter the required WIDTH and HEIGHT values in the W and H boxes in the PROPERTIES panel.
Adding text to the table
Text will be added to the rest of the table and two CSS styles will be created so that the text can be formatted.
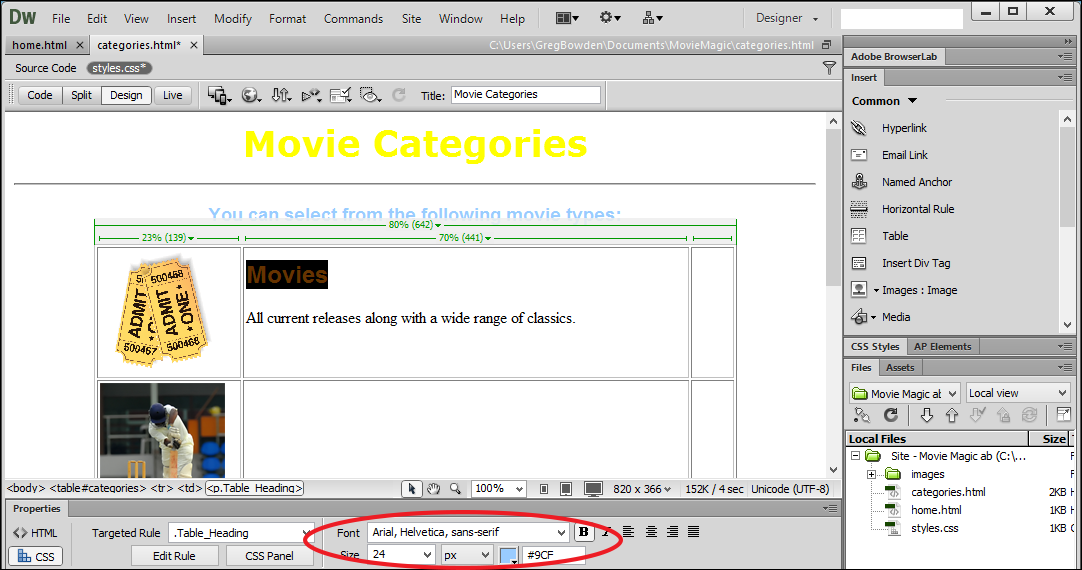
Click in the top cell of column 2 and enter: Movies <Enter> All current releases along with a wide range of classics. <Enter>
Highlight Movies and use the PROPERTIES panel to set it to ARIAL, HELVETICA SANS SERIF.
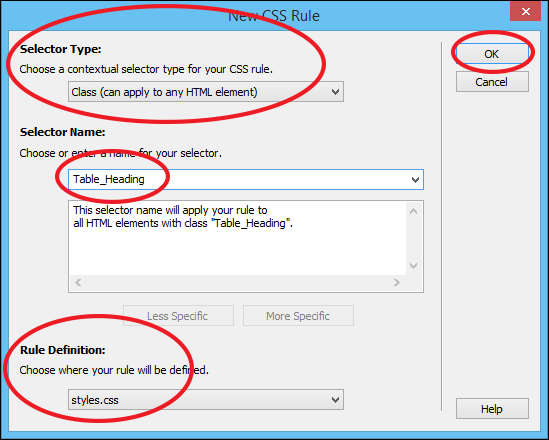
In the NEW CSS RULE dialogue box set the SELECTOR TYPE to CLASS, the SELECTOR NAME to Table_Heading, check that styles.css is selected in the CREATE RULE IN section and select OK. Note: You need to set the CONVERT TO box to A NEW CSS CLASS as this is the type of CSS style that is used to format text.
Use the PROPERTIES panel to set the text to BOLD, 24 px and PALE BLUE to complete the style.
Highlight the sentence and use the PROPERTIES panel to set it to ARIAL, HELVETICA SANS SERIF.
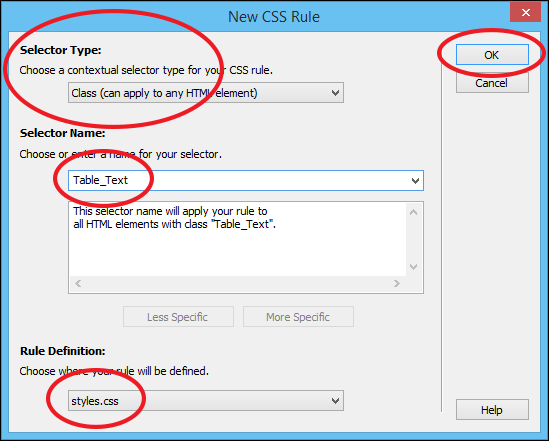
In the NEW CSS RULE dialogue box set the SELECTOR TYPE to CLASS, the SELECTOR NAME to Table_Text, check that styles.css is selected in the CREATE RULE IN section and select OK.
Use the PROPERTIES panel to set the text to BOLD, 16 px and PALE BLUE to complete the style.
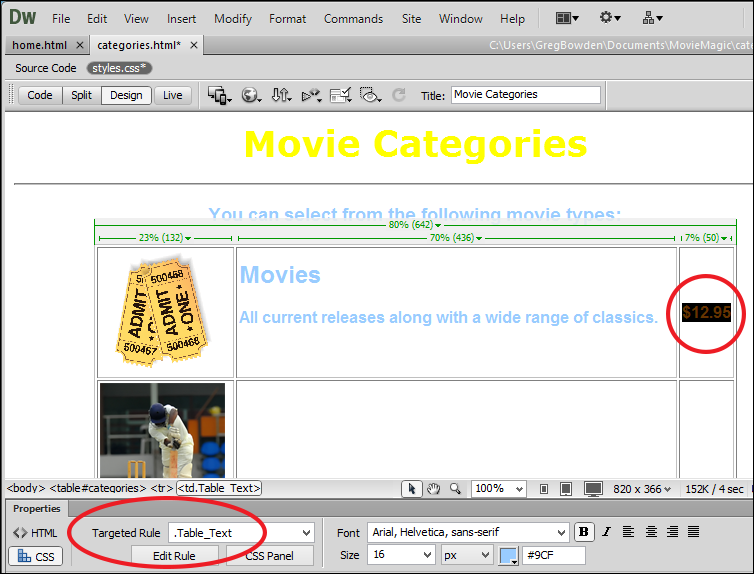
Click in the top right cell, enter $12.95 and format it to the Table_Text style from the TARGETED RULE box in the PROPERTIES panel.
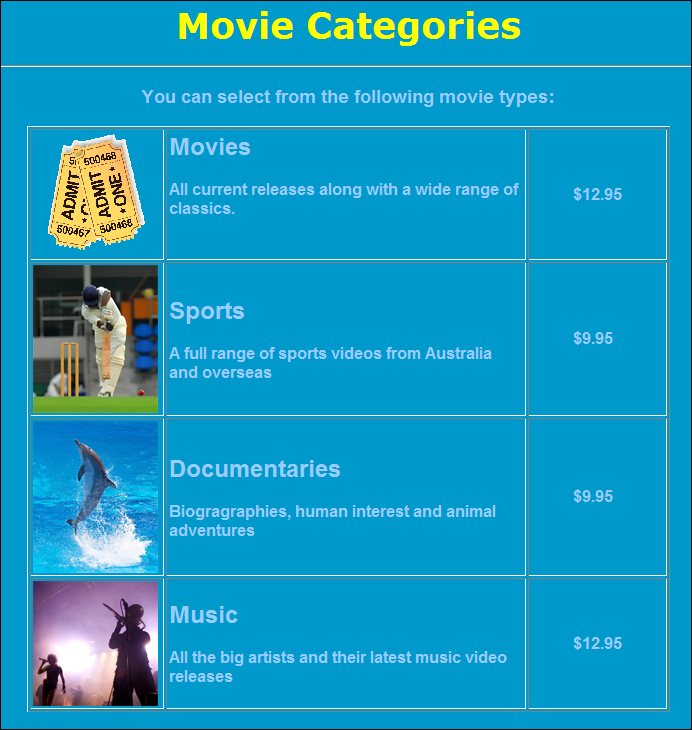
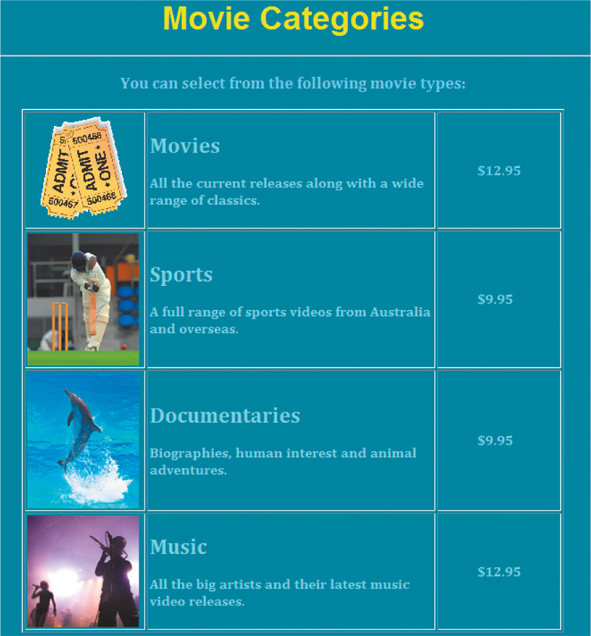
Enter the text for the rest of the table and format it to the Table_Heading and Table_Text styles.
Use the borders of the table to adjust the column widths.
Use the PAGE PROPERTIES button in the PROPERTIES panel to set a DARK BLUE or DARK TEAL background to the page.
You can click at the beginning of each price and click on the BLOCKQUOTE icon in the HTML section of the PROPERTIES panel to indent the text.
Open your Movie Magic site and select NEW from the FILE menu.
Select HTML in the DOCUMENT TYPE frame and set the TITLE box to Movie Categories.
Click on the ATTACH STYLE SHEET button, browse to your styles.css file and select OK to add the styles.css file to the Attach CSS frame. This will link the styles to the new page.
Select CREATE to start the page and save it as: categories.html.
Adding the title text
Some text will be needed above the table.
Enter the text shown in the diagram to the right, pressing <Enter> or <Return> after each line.
Highlight MOVIE CATEGORIES and select the HEADING style from the TARGETED RULE box in the CSS section of the Properties panel to format it.
Format the sentence to the BODY_TEXT style.
Click at the beginning of the second line and insert a HORIZONTAL RULE to separate it from the heading.
Inserting the table
Click on the blank line below the sentence and click on the TABLE icon in the INSERT tab of the PANEL GROUP.
Set the table to have the values indicated in the diagram to the right.
Note: Setting the TABLE WIDTH to 80 PERCENT means that the table will fill 80% of the screen no matter how large or small the screen is.
In the Properties panel set the TABLE name to CATEGORIES and the ALIGN box to CENTRE so that the table is centred on the page.
Images can be inserted into table cells. These images have been prepared for you.
Click in the top left cell and click on the IMAGE icon in the INSERT tab of the PANEL GROUP.
Open the folder downloaded from the above link and access the Movies image.
Select YES to the ROOT FOLDER warning, open your Images folder and select SAVE.
Repeat the last 3 steps to insert the SPORTS, DOCOS and MUSIC images in the next three cells of column one.
Drag the right border of the first column to the right of the images.
Note: The bottom right handle of an image can be used to resize it when needed or you can enter the required WIDTH and HEIGHT values in the W and H boxes in the Properties panel.
Adding text to the table
Text will be added to the rest of the table and two CSS styles will be created so that the text can be formatted.
Click in the top cell of column two and enter: Movies <Enter> All current releases along with a wide range of classics. <Enter>
Highlight MOVIES and use the Properties panel to set it to CAMBRIA, BOLD, 24 px and PALE BLUE.
Display the TOOLS menu, highlight CSS and select CONVERTINLINE CSS TO RULE.
Set the CONVERTTO box to A NEW CSS CLASS, the style name to Table_Heading, check that styles.css is selected in the CREATE RULE IN section and select OK.
Note: You need to set the CONVERT TO box to A NEW CSS CLASS as this is the type of CSS style that is used to format text.
Highlight the sentence and use the Properties panel to set it to CAMBRIA, BOLD, px and PALE BLUE.
Display the TOOLS menu, highlight CSS and select CONVERTINLINE CSSTO RULE.
Set the CONVERTTO box to A NEW CSS CLASS, style name to Table_Text, check that styles.css is selected in the CREATE RULE IN section and select OK.
Click in the top right cell, enter $12.95 and format it to the Table_Text style from the TARGETED RULE box in the Properties panel.
Enter the text for the rest of the table and format it to the Table_Heading and Table_Text styles.
Use the borders of the table to adjust the column widths.
Use the PAGE PROPERTIES button in the Properties panel to set a DARKBLUE or DARK TEAL background to the page.
You can click at the beginning of each price and click on the BLOCKQUOTE icon in the HTML section of the Properties panel to indent the text.