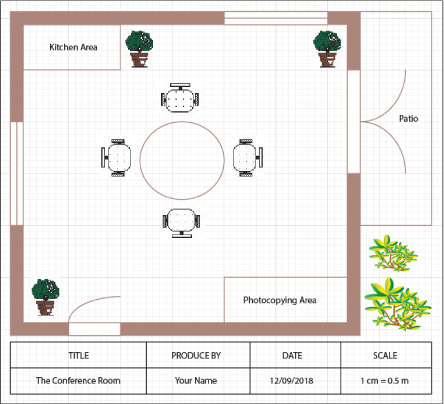
In this exercise you will create the following design of a conference room. The steps will guide you through the production of the design. Once the design is complete, save it and print a copy of it. Check the printout carefully, make any necessary adjustments and print a final copy if any changes were made.
Skills practised
Drawing tools
Fill and stroke colours
Stroke weight
Rulers and grid
Placing objects
Transforming objects
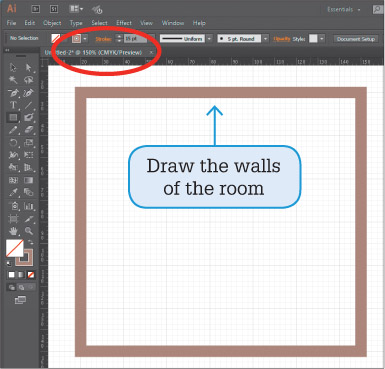
Start a new Adobe Illustrator document with the same settings as in Exercise 1.
Use the VIEW menu to turn on SHOW RULERS, SHOW GRID and SNAP TO GRID.
Draw a rectangle 130 mm across and 120 mm down on the canvas then set the FILL COLOUR to NONE, the STROKE COLOUR to LIGHT BROWN and the STROKE WEIGHT to 15 pt.
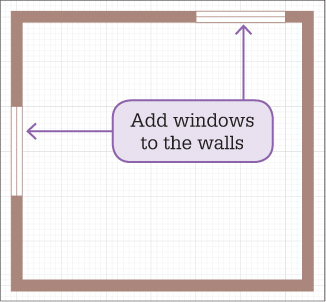
Deselect the rectangle by selecting DESELECT from the SELECT menu then draw two white filled rectangles to the left side of the first rectangle and to the top.
Drag a straight line through the two rectangles. These represent windows.
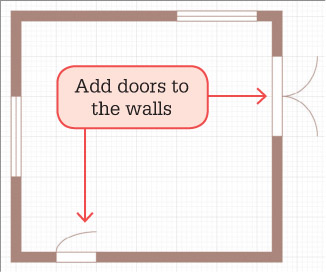
Add two white-filled rectangles to the right side of the first rectangle then draw two arcs from their intersection. These represent double doors.
Add another white-filled rectangle and arc to the bottom line of the first rectangle to represent another door.
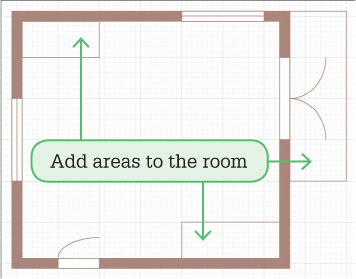
Add three unfilled rectangles to the top left and bottom right corners of the room, and outside the double doors. These represent specific areas of the conference room.
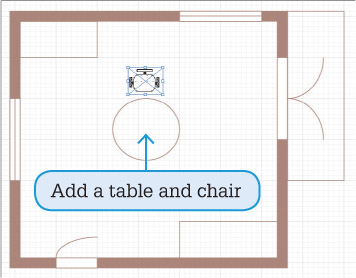
Use the ELLIPSE TOOL to draw a circle near the centre of the room. This is the conference room table.
Display the FILE and select PLACE. Insert the CHAIR image downloaded from the above link and move it to the top of the table.
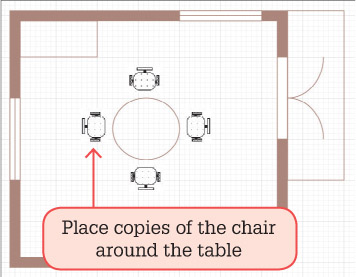
Make three copies of the chair, rotate one copy by 90°, the second by -90° and flip the third vertically using TRANSFORM from the OBJECT menu. Move the copies around the table.
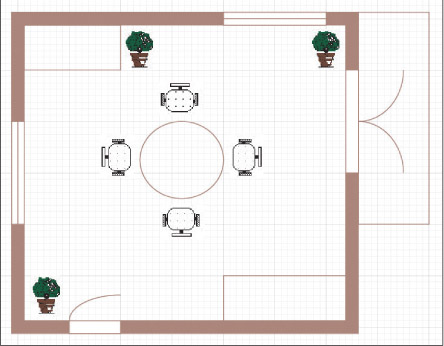
Insert a pot plant downloaded from the above link. Make two copies of the plant and place them at corners of the room.
Add labels to the three rectangles and produce an information table below the room.
Add some plants symbols from the NATURE symbols library under the patio.
Save the file in your storage folder under the name: Conference Room.