3.3 Using sections
There are times when you want part of a page formatted in one way and other parts of the same page formatted differently. For example, you might want part of a page to have text in three columns and other parts of the page to have a single column. Sections allow you to do this.
If you are using Google Docs, sections are not available. You will need to skip this exercise or insert three two-column one-row tables for the car details and copy and paste the text into the appropriate cells.
Word processing exercise 3
Using sections
Skills practised
- Using sections
- Section breaks
- Columns
- Column breaks
- Inserting images
- Drawing tools
In this exercise you will create an advertising page for a used-car company. It will need sections to be inserted throughout the page. The text and image can be downloaded through the above links.
- Open the text data file downloaded from the above link.
- Your task is to format the page as shown below. Start by formatting the main headings and use the Drawing tools to shade them.
- Centre the ‘Small Cars’ subheading and format it.
- Set the cursor at the beginning of the first small car, ‘2010 Ford Fiesta …’ and insert a Continuous Section Break using the
BREAKSicon in theLAYOUTorPAGE LAYOUTtab orINSERTmenu. - Set the page to two columns. This will only occur in the new section.
- Set another Continuous Section Break at the beginning of the ‘Family Cars’ subheading. Set the Columns back to 1, then centre the subheading and format it in the same way as you did for the ‘Small Cars’ subheading. Remember, you can use the
FORMAT PAINTERtool to copy formats. - Repeat steps 4 to 6 for the rest of the family cars and sports car text.
- In the blank line after the last sports car, insert another Continuous Section Break and set the columns back to one.
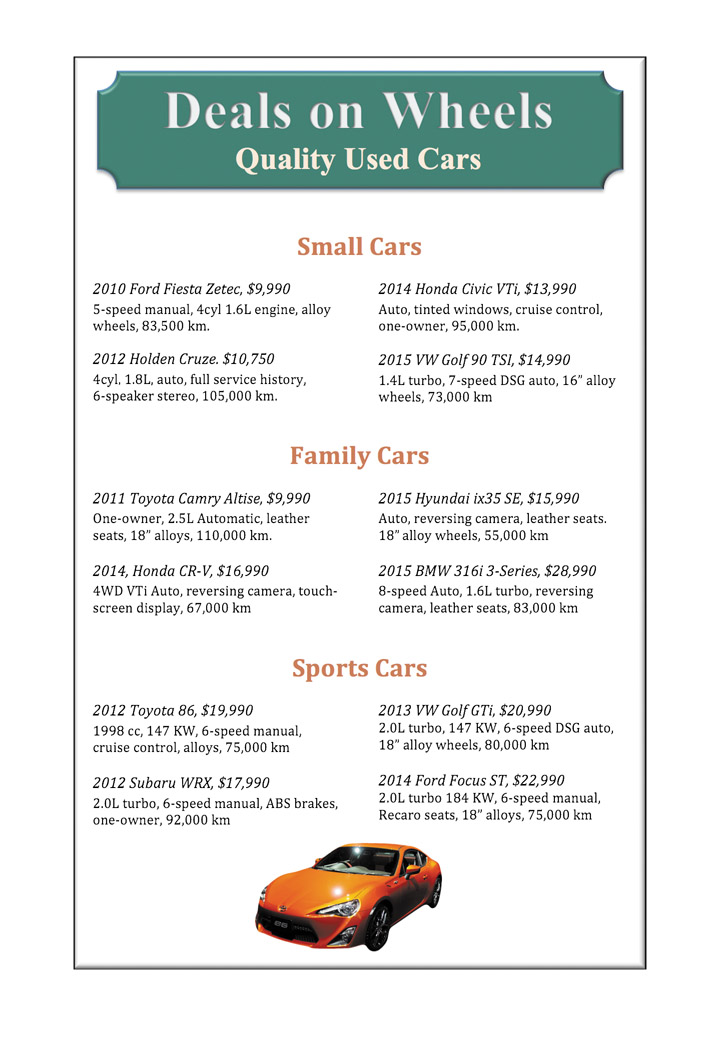
- Insert the Car picture from the above data file download. Reduce the size of the picture so that it fits neatly under the text and then centre it.
- Format the name of each car in the columns to Italic.
- Open the Header and Footer view and add a border around the page.
- Check the document and then print a copy of your finished product or share your work electronically.